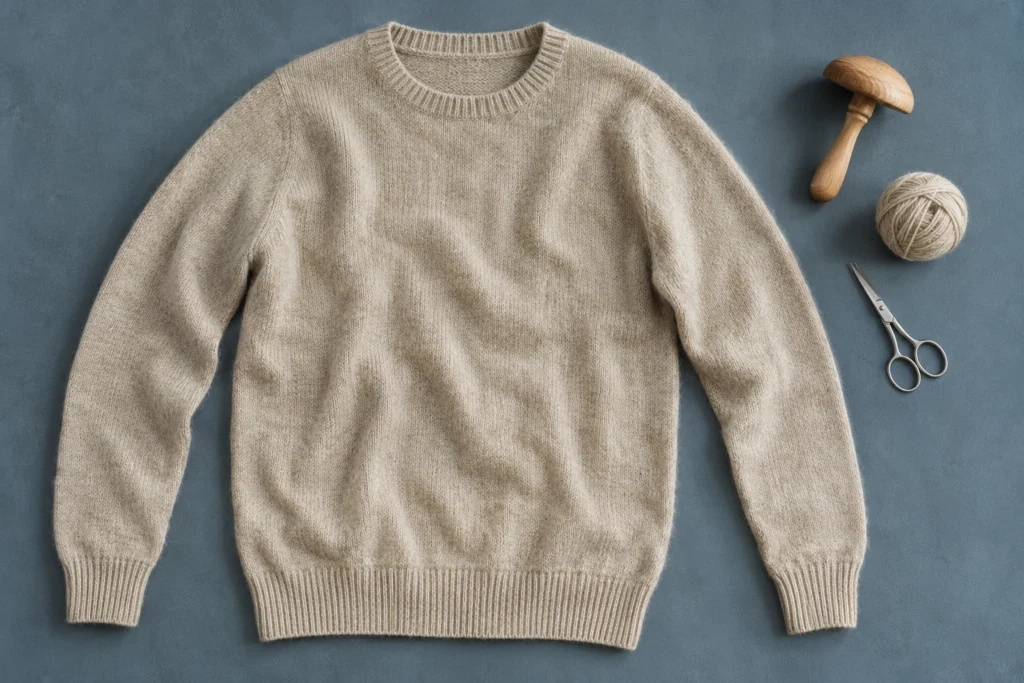
To decide how to repair moth holes in wool, first address any active infestation, then identify whether the fabric is knitted or woven. A small hole with sound fabric around it may suit darning; a broader weak area may need a patch. Fine knits, tailored clothing and valuable pieces deserve a repair specialist’s assessment before you alter them.
The best repair depends on more than the size of the opening. Consider the surrounding fabric, where the damage sits, how much that area stretches and whether you are comfortable with a visible mend. This guide focuses on clothing, including sweaters, socks, scarves and woven wool garments.
About this guide: This is research-based guidance, not a report of our own repair tests. All three editorial images are AI-generated illustrations, not real repair demonstrations or stitch diagrams. For needle placement and movement, use the linked photographic and video tutorials alongside the written guidance.
Assess the damage before choosing a repair
Lay the item flat in good light and inspect both sides without pulling the hole wider. Look beyond the first opening: a small visible gap can sit inside a larger thin area. Check cuffs, folds, underarms and nearby seams, then inspect the rest of the garment. Photograph the damage with a ruler beside it so you can compare it later.
- Record the fabric and care instructions. Keep the fiber label and care label available. “Wool” describes a fiber; it does not tell you whether the item is knitted, woven or safe to wash at home.
- Check the edges. Note loose knit loops, broken threads, thinning and any area that tears under very gentle handling. Avoid cutting away yarn that a specialist might be able to use.
- Decide on the goal. A comfortable everyday mend, a decorative patch and a discreet repair to a suit jacket are different projects. Set that expectation before choosing tools.
- Pause for fragile or extensive damage. Multiple holes, a weak surrounding panel, lining or damage near a shaped edge can make a seemingly small job complicated.
A hole alone does not establish moth damage. University of Kentucky Extension explains that clothes moth larvae damage animal fibers and that carpet beetles can cause similar damage. Webbing, larval cases or live larvae are more useful clues than the outline of the hole. Wear and snags can also break yarn. Keep photographs or a securely contained specimen for identification if the cause is uncertain.
Address active moths before sewing
Keep a suspect item contained separately while you inspect nearby vulnerable textiles and the storage area. Do not put it on a shared sewing table or return it to the clean sweater pile. Arrange identification and a suitable treatment before cosmetic repair; filling the hole does not remove eggs or larvae.
The UC Integrated Pest Management guide recommends cleaning affected items and their surroundings, with methods chosen for the material. Follow the garment’s care label. Hot washing is unsuitable for many wool pieces, and an ordinary gentle wool wash should not be assumed to kill every moth life stage. Ask a professional cleaner about an appropriate treatment and disclose the suspected infestation before bringing an item in.
Freezing is not a universal overnight fix, and improvised heating can damage clothing. If those methods are being considered, obtain a treatment protocol appropriate to the textile and equipment. Vacuum storage areas and deal with collected debris promptly. Traps can help monitor activity, but do not replace treatment of affected items. Persistent activity or an uncertain source is a reason to involve a qualified pest professional.
Our wool-sweater storage guide covers prevention and packing after treatment. If the evidence is in a floor covering, use the separate guide to moths in wool rugs; a rug’s pile and foundation call for a different repair assessment.
Knitted versus woven wool: why it matters
Knitted wool is formed from interlocking loops. Many sweaters and socks are knits; you may see columns of small V-shaped stitches on one side. Broken loops can loosen or run. A repair needs to secure the affected area while considering the fabric’s stretch. Fine-gauge Merino and cashmere can be much harder to handle than an easy-to-see practice swatch.
Woven wool has crossing sets of threads rather than knitted loops. Suit trousers, many coats and some scarves use woven fabric. Darning or patching may be practical, but recreating a fine weave or matching a patterned cloth is a different task from closing a hole in a sweater.
Do not identify construction only by the garment name: coats can be knitted, and scarves can be woven. Dense, brushed or felted surfaces may hide the structure. If you cannot see what you are working with, ask a tailor or textile repairer before starting. Wool blends also need assessment; the percentage on the label does not choose the repair method for you.
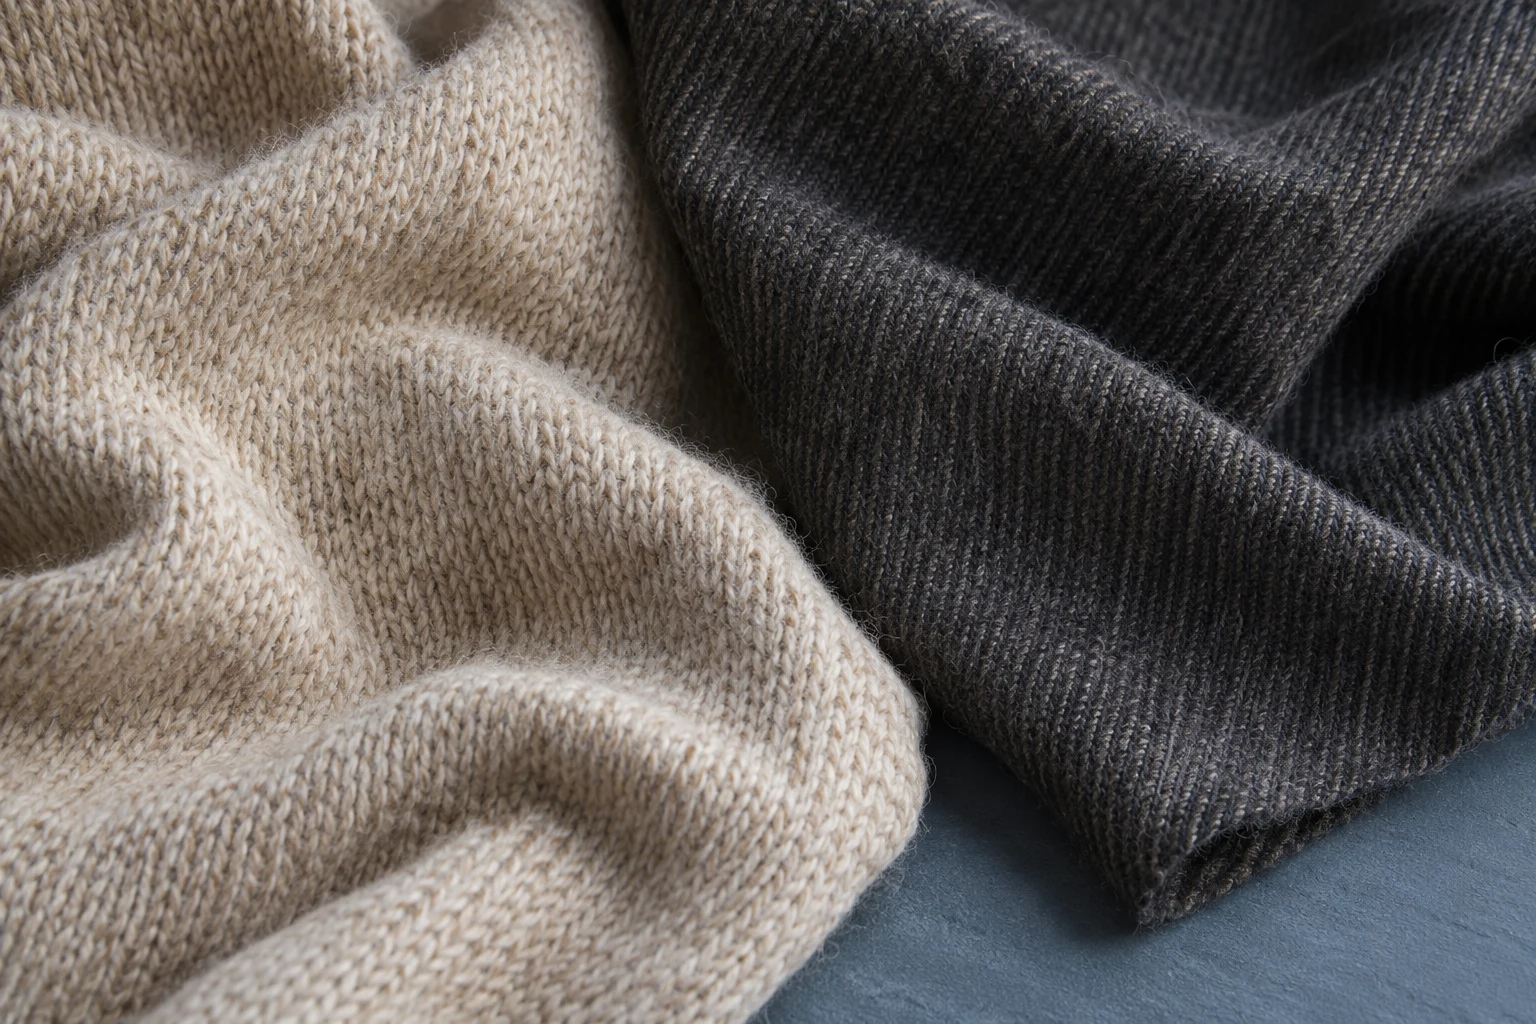
How to repair moth holes in wool: compare the options
Use this as a starting point, not a promise that a particular method will work on your garment. There is no single hole-size cutoff that separates a home repair from a professional job.
| Damage or garment | Option to consider | Main limitation |
|---|---|---|
| Small hole in a stable, readable knit | Darning that spans the gap and anchors in sound fabric | The mend can show and feel less stretchy |
| Broader weak area with sturdy fabric beyond it | Sewn patch or reinforced repair | A patch changes appearance, weight and movement |
| Fine knit, intricate pattern or valued sweater | Professional reknitting assessment | Matching yarn and a close visual match may be difficult |
| Woven suit, coat or patterned wool | Professional reweaving; patching if a visible repair is acceptable | Fabric structure, lining and available matching material affect feasibility |
| Many holes or fabric that keeps breaking | Specialist assessment before further handling | Repair may be impractical even if individual holes look small |
| Fresh pest evidence | Identification and textile-safe treatment first | Sewing alone cannot stop an infestation |
Darning a small hole in knitted wool
Darning bridges missing material with new thread or yarn. It is not the same as sewing two edges tightly together. A woven darn creates a small woven area within the knit; it does not reproduce every original loop. Practice on a spare swatch first if you have not done this before.
Choose compatible tools and yarn
Prepare a suitable needle, repair yarn or thread, small scissors, good lighting and a support such as a darning egg. Match the repair material to the garment’s thickness and care needs as well as its color. A contrasting yarn can make a deliberate visible mend easier to follow. Keep only one garment layer over the support so you cannot accidentally join the front to the back.
The Patagonia/iFixit woven-darning tutorial demonstrates a blunt-needle method for medium and heavier knits. The separate photographic knitted-garment darning guide uses thread and a knotted start. These are different approaches: choose one appropriate to your fabric rather than combining their starting and finishing instructions.
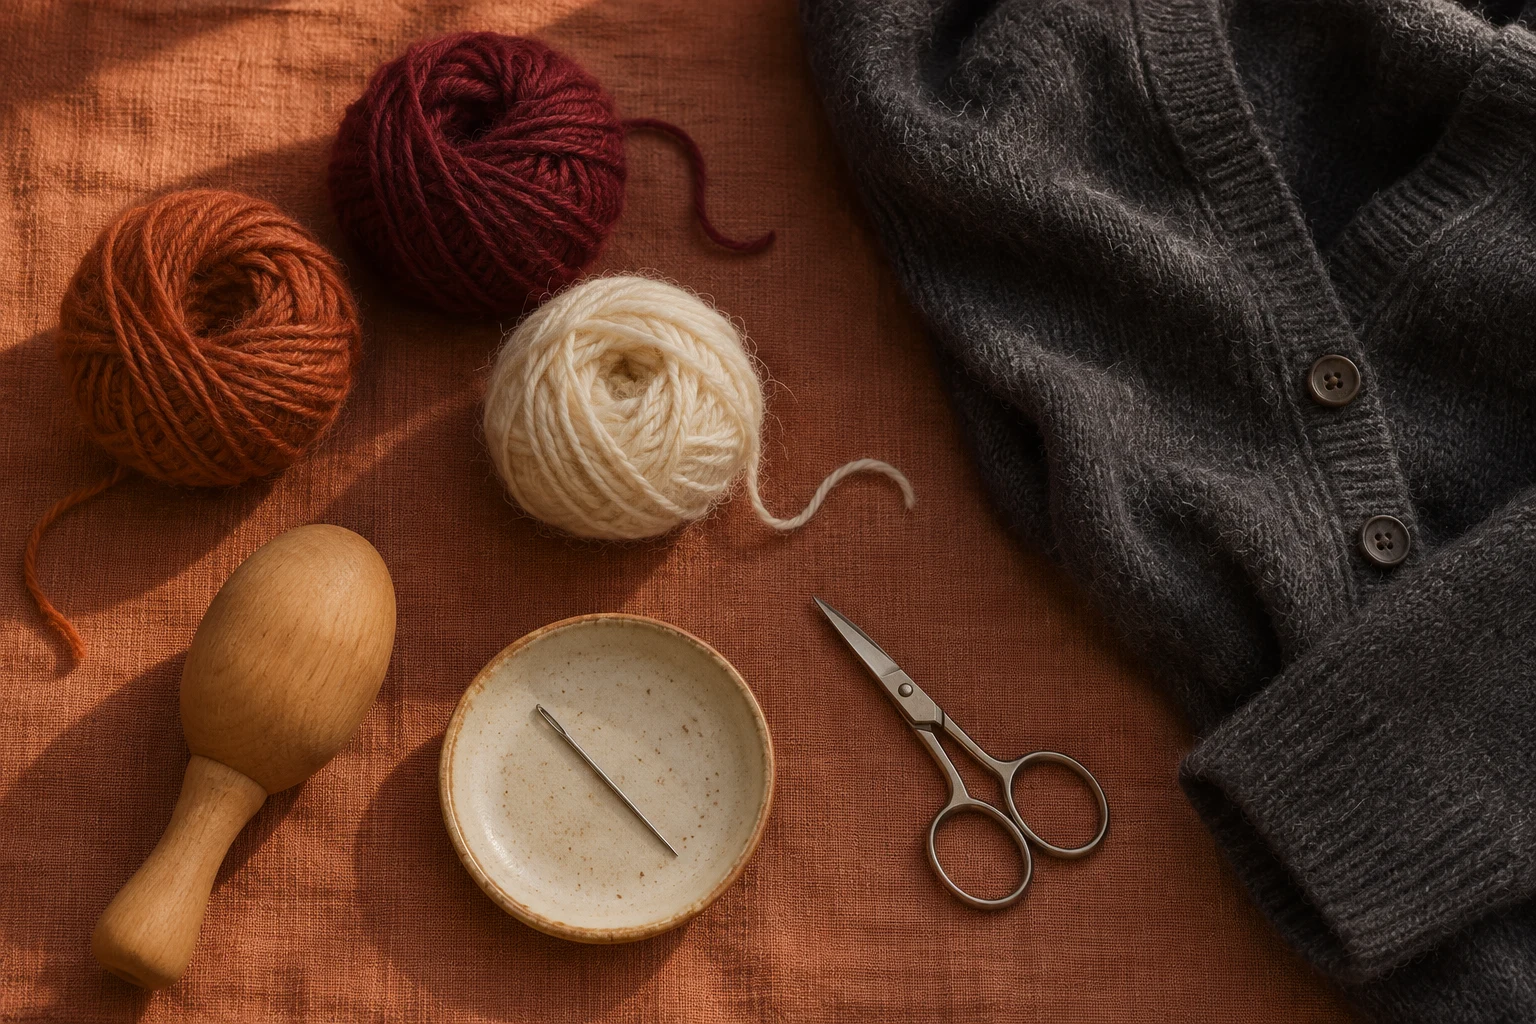
A basic woven-darning sequence
- Separate and support one layer. Slide a darning egg or similar support inside the garment. Keep the back of the sweater or opposite side of the sock out of the stitching area. Rest the fabric in its normal shape; do not stretch the opening wider.
- Start in sound fabric. For the heavier-knit method, use a blunt needle and leave an unknotted yarn tail for finishing. Bring the yarn to an intact corner outside the damage. Keep the tail accessible; do not trim it flush or anchor in thinning fibers.
- Bridge the opening. Work across the gap and take a small anchoring stitch in sound fabric on the other side. Return beside the first strand. Repeat in parallel rows, extending beyond the damaged area instead of merely joining its broken edges.
- Fill across those strands. Weave perpendicular to them, passing alternately over and under. Reverse that sequence on the return pass: a strand passed over on one row is passed under on the next. Secure each pass in the surrounding fabric.
- Control spacing and tension. Keep the strands evenly spaced and the garment relaxed. Pull out a row that gathers the cloth before adding more. Take one stitch at a time while learning; loading many stitches onto the needle makes tension harder to judge.
- Finish on the reverse. In the heavier-knit method, thread each tail through the needle and stitch it back into the repair in the direction it came from. Avoid carrying it through to the visible face. Secure the tails before trimming.
- Check the mend off the support. Compare its flexibility and density with nearby fabric. Check both faces for loose ends, tight ridges and accidentally caught layers. A stiff, puckered patch needs reassessment, not extra pulling.
This sequence explains the work, but the actual anchoring point depends on intact stitches around your hole. If loops are running, the edge keeps breaking or you cannot distinguish individual stitches, stop before sewing. Use the linked close-up photos and videos to check the needle placement for your chosen method. No independently validated stitch diagram or licensed instructional photograph is reproduced here; the editorial images are decorative. Practice first rather than learning on an irreplaceable garment.
Afterward, check whether the mend feels bulky against skin and whether ordinary movement pulls at its edges. A patch at a sock toe, elbow or underarm has different comfort demands from one on a loose scarf. Undo and reassess a tight first attempt rather than pulling harder to make it lie flat.
When a sewn patch makes more sense
A patch adds a separate piece of material across a damaged area. Consider it when a woven garment has more missing material than you want to darn, or when you welcome a visible design change. A patch still needs a sound attachment area: covering a weak panel does not automatically make it reliable.
Woolmark’s repair guide includes a backing-patch method for woven fabric. For a stable, accessible area where a visible mend is acceptable:
- Choose a compatible patch. Match the cloth’s weight and care needs. Make it large enough to reach sound fabric beyond every damaged edge; Woolmark’s example allows at least 1 centimeter (about 3/8 inch) beyond the opening.
- Position it behind the hole. Turn the garment inside out and align the patch’s thread directions with the garment’s grain. Pin it flat without stretching either layer. Keep the lining and opposite garment panel out of the way.
- Secure the opening to the backing. Woolmark describes overhand stitches around the edge, with short backstitches at the corners. Work through the garment and backing only. Check the outside regularly for puckering, then secure the thread and remove the pins.
Do not cut a moth-damaged opening into a larger shape simply to make it look tidy. Woolmark’s example reshapes the opening, but that is an irreversible choice; ask a specialist first when preserving original cloth matters. A lined coat or a patch with inaccessible edges is a good reason to use a tailor.
Before cutting, position the proposed patch and consider how its edges will be finished. Check the appearance from the outside and the feel from the inside. A thick patch on lightweight cloth can be conspicuous or uncomfortable. If you want a specialist’s opinion, seek it first: trimming the opening or adding adhesive can change their options.
A stable woven patch can also restrict the movement of a stretchy knit. For a sweater, ask whether a knitted patch, darning or reknitting would better suit the area. Avoid treating iron-on adhesive, fabric glue or needle felting as universal solutions. Compatibility and appearance vary, and this guide does not provide a verified demonstration of those techniques.
When to use professional reknitting or reweaving
Ask specifically about reknitting for knits or reweaving for woven cloth, rather than assuming that any alterations shop offers both. Without A Trace describes these as distinct specialist methods that may use material from an inconspicuous part of the garment. Do not cut out donor yarn or cloth yourself; let the repairer judge what is available.
Professional work can reduce the visibility of a repair, but “invisible mending” is a service description, not a guarantee. RAVE FabriCARE’s explanation of repair limitations emphasizes individual assessment and does not promise a completely invisible result. Fabric, color, pattern, location and damage all affect expectations. That page is cited for technical context, not as a guarantee of current service availability.
- Send clear photographs of the whole garment, both sides of the damage and the care label; disclose suspected moth activity.
- Ask whether they handle your construction and whether inspection is needed before quoting.
- Discuss visible traces, changes in feel, matching material and any care changes after repair.
- Request the total estimate and timing before authorizing work. Ask to see examples on similar fabric.
A specialist is especially useful for a tailored jacket, very fine knit, complicated pattern, damaged neckline or an item with sentimental value. With widespread thinning, the sensible choice may be stabilization, a visible redesign or repurposing. Neither the garment’s price nor a tiny-looking hole guarantees that repair will be worthwhile.
Care for the garment after repair
Follow the original care label together with any instructions for the repair materials or from the repairer. If they conflict, obtain advice before laundering. Do not assume a new patch or yarn has the same washability as the garment. A spare sample can help assess a proposed care routine without risking the finished piece.
For ordinary care, see how to wash Merino wool and choosing a wool detergent. Avoid using heat or forceful stretching to disguise a tight mend; our wool shrinkage guide explains why changes in size and felting are separate problems from missing yarn.
Store the item only when it is clean, completely dry and free of active pests. Keep a dated photograph of the repaired area and check neighboring fabric when the garment is worn or cleaned. New thinning or fresh holes deserve investigation rather than another automatic layer of stitching.
Frequently asked questions
Can all moth holes in wool be repaired?
No. Some can be closed, darned or patched, but extensive damage or very weak surrounding fabric may make a satisfactory repair impractical. Decide whether your priority is appearance, comfort, continued use or preservation, then ask a specialist about uncertain cases.
Can I just sew a small hole shut?
Sometimes a tiny opening can be closed without distortion, but pulling together edges where material is missing can create a pucker. The condition of the knit loops and surrounding fabric matters more than a universal measurement. If the edges will not meet naturally, assess a repair that fills the gap.
How do I repair moth holes in a wool coat?
First identify the construction. A woven tailored coat may need reweaving, a patch or work involving its lining; a knitted coat needs knit-aware repair. Let a specialist assess a conspicuous area before you cut, glue or stitch it. Do not transfer sweater instructions automatically to a woven coat.
Will matching yarn make the mend invisible?
Not necessarily. Matching color helps, but yarn thickness, texture, stitch structure and tension also affect the result. Expect that a mend may remain visible. Choosing a deliberate contrasting repair is also valid if that suits how you want to wear the garment.
Does fixing the holes get rid of the moths?
No. Repair replaces or supports damaged material; it is not pest treatment. Identify the cause, address affected clothing and storage areas, and monitor for fresh evidence. Follow textile-safe treatment advice rather than relying on a completed mend or a scented sachet.